Introduction:
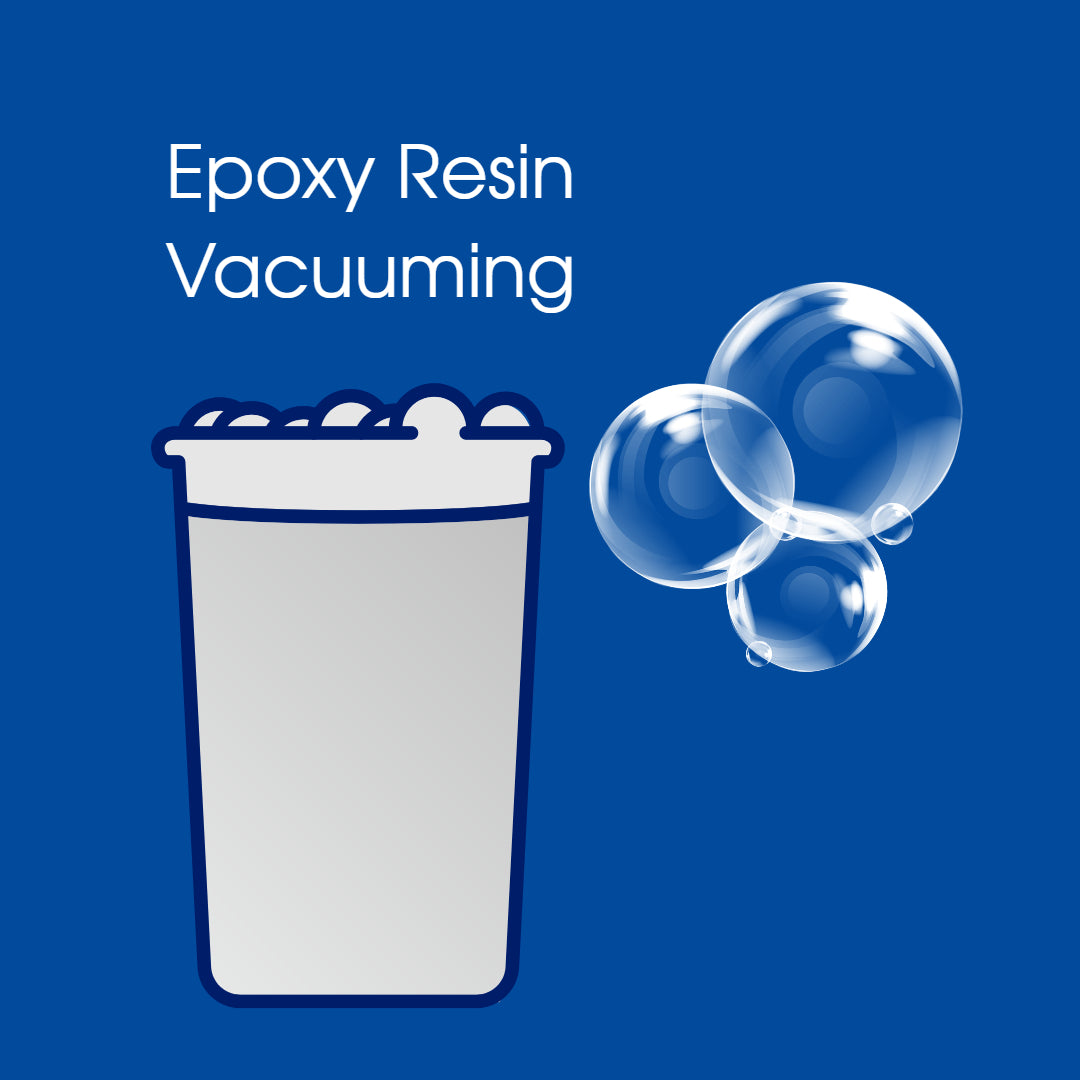
When working with epoxy resin, how to remove air bubbles is a very important matter. Generally speaking, most of the air bubbles in epoxy resin will rise to the surface by themselves, and the lower the viscosity and the longer the curing time, the least amount of air bubbles will remain. But when you are looking for absolute bubble-free results, vacuuming is a crucial step.
In this blog post, we will explore the steps and precautions involved in the vacuuming process.
 (showing the vacuuming process)
Step 1: Preparation
Set up the Degassing Chamber.
Choose a suitable degassing chamber for the process. Ensure that the chamber is clean and free from any contaminants that may compromise the vacuuming procedure.
Prepare the Resin.
Start by accurately measuring and mixing the resin components according to the manufacturer's instructions. Ensure that the resin is mixed in the correct ratio to achieve the desired properties.
Step 2: Getting Started
Pour the mixed resin into a pouring container, then transfer to the vacuum chamber. Take care to pour the resin slowly and transfer to avoid air bubbles and leakage.
Ensure that the pouring container is properly sealed to prevent any air leakage during the vacuuming process. Then connect the vacuum pump or vacuum system to the degassing chamber. Double-check that all connections are secure and airtight to maintain an effective vacuum.
Step 3: Process
Start the vacuum pump and gradually increase the vacuum level. Follow the manufacturer's guidelines for the recommended vacuum level and time specific to your resin. Typically, a vacuum level of 25-29 inches of mercury (Hg) is suitable for most low viscosity deep pour resins.
Monitor the Vacuum Process Observe the resin during the vacuuming process to ensure that air bubbles rise to the surface and are successfully removed. Gently agitate the container or use a vibrating table, if necessary, to aid in the release of trapped air.
Step 4: Finishing
Allow the resin to remain under vacuum for the recommended time. This duration may vary depending on the specific resin and desired results. This duration may vary depending on the specific resin and desired results. Typically, a vacuum time of 10-30 minutes is sufficient for most low viscosity deep pour resins.
After the designated vacuum time has elapsed, gradually release the vacuum by turning off the pump and venting the chamber slowly. Avoid sudden pressure changes that could introduce air bubbles into the resin.
Precautions:
-
Safety First: Always follow proper safety procedures and guidelines when working with resin and vacuum equipment. Wear appropriate protective gear, such as gloves and goggles, and ensure you are in a well-ventilated area.
-
Avoid Overfilling: Do not overfill the pouring container with resin, as this can lead to spillage and compromise the effectiveness of the vacuuming process. Leave sufficient space for resin expansion during degassing.
-
Temperature Control: Consider the resin's recommended temperature range for the vacuuming process. Some resins may require specific temperatures to optimize degassing efficiency. Ensure that the resin and the environment are within the appropriate temperature range.
-
Monitor Resin Viscosity: While low viscosity resins are generally easier to degas, it is essential to monitor the resin's viscosity during the process. Adjust the vacuum time and level accordingly to ensure effective bubble removal.
-
Consider Multiple Vacuum Cycles: Depending on the resin's characteristics and desired results, you may need to repeat the vacuum process in multiple cycles to achieve optimal degassing.


